
Fireman's Chili Contest

I am starting with photo above of the conference room set-up. Each pre-registered entrant received an aluminum tray, a black serving spoon, a small acrylic sign, which they inserted their information into, and a voting cup. The guests/judges received a sheet of voting tickets which they slipped into the top of the voting cup. To the left, under the big monitor where red bowls with chili toppings. You can see aboave, that I purchased cardboard buildings, a fire engine and a stuffed dalmation for centerpieces. I used my everygreen centerpieces also, along with a grass runner.


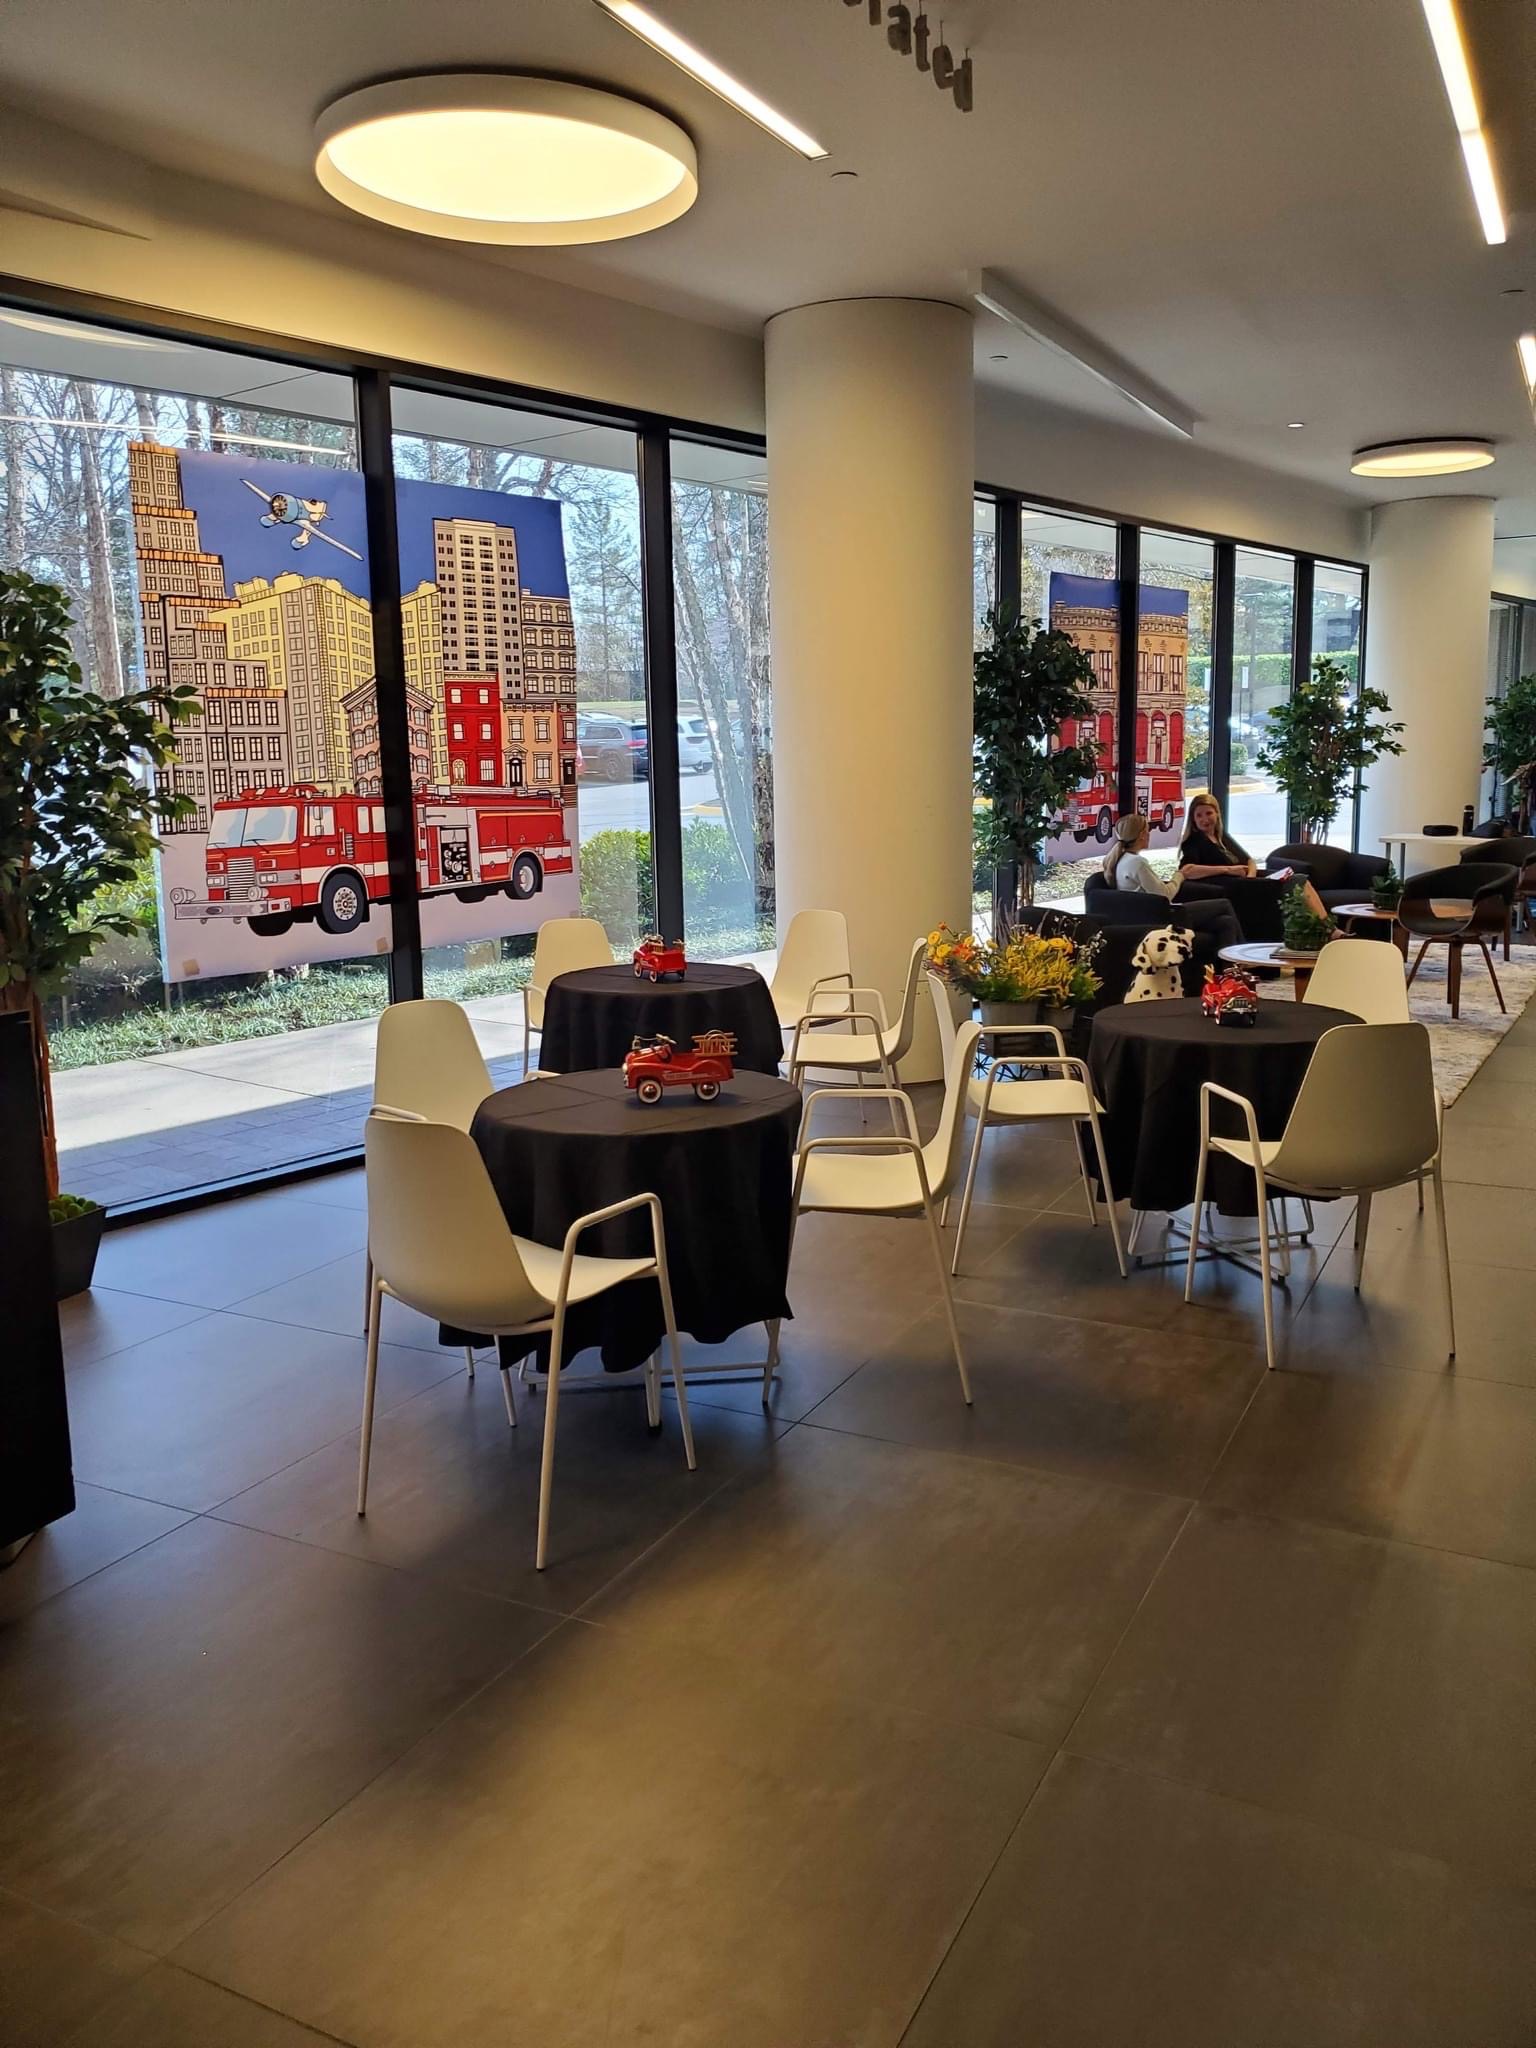
I created city scape posters with large fire engines. The partners wanted the kitchen tables up front, so I used my black tableclothes from previous party, and the centerpieces were small
fire engines (also from a previous party).

Here is my daughter farther down at seating area by the band. She has booked all of our
office party bands for years.
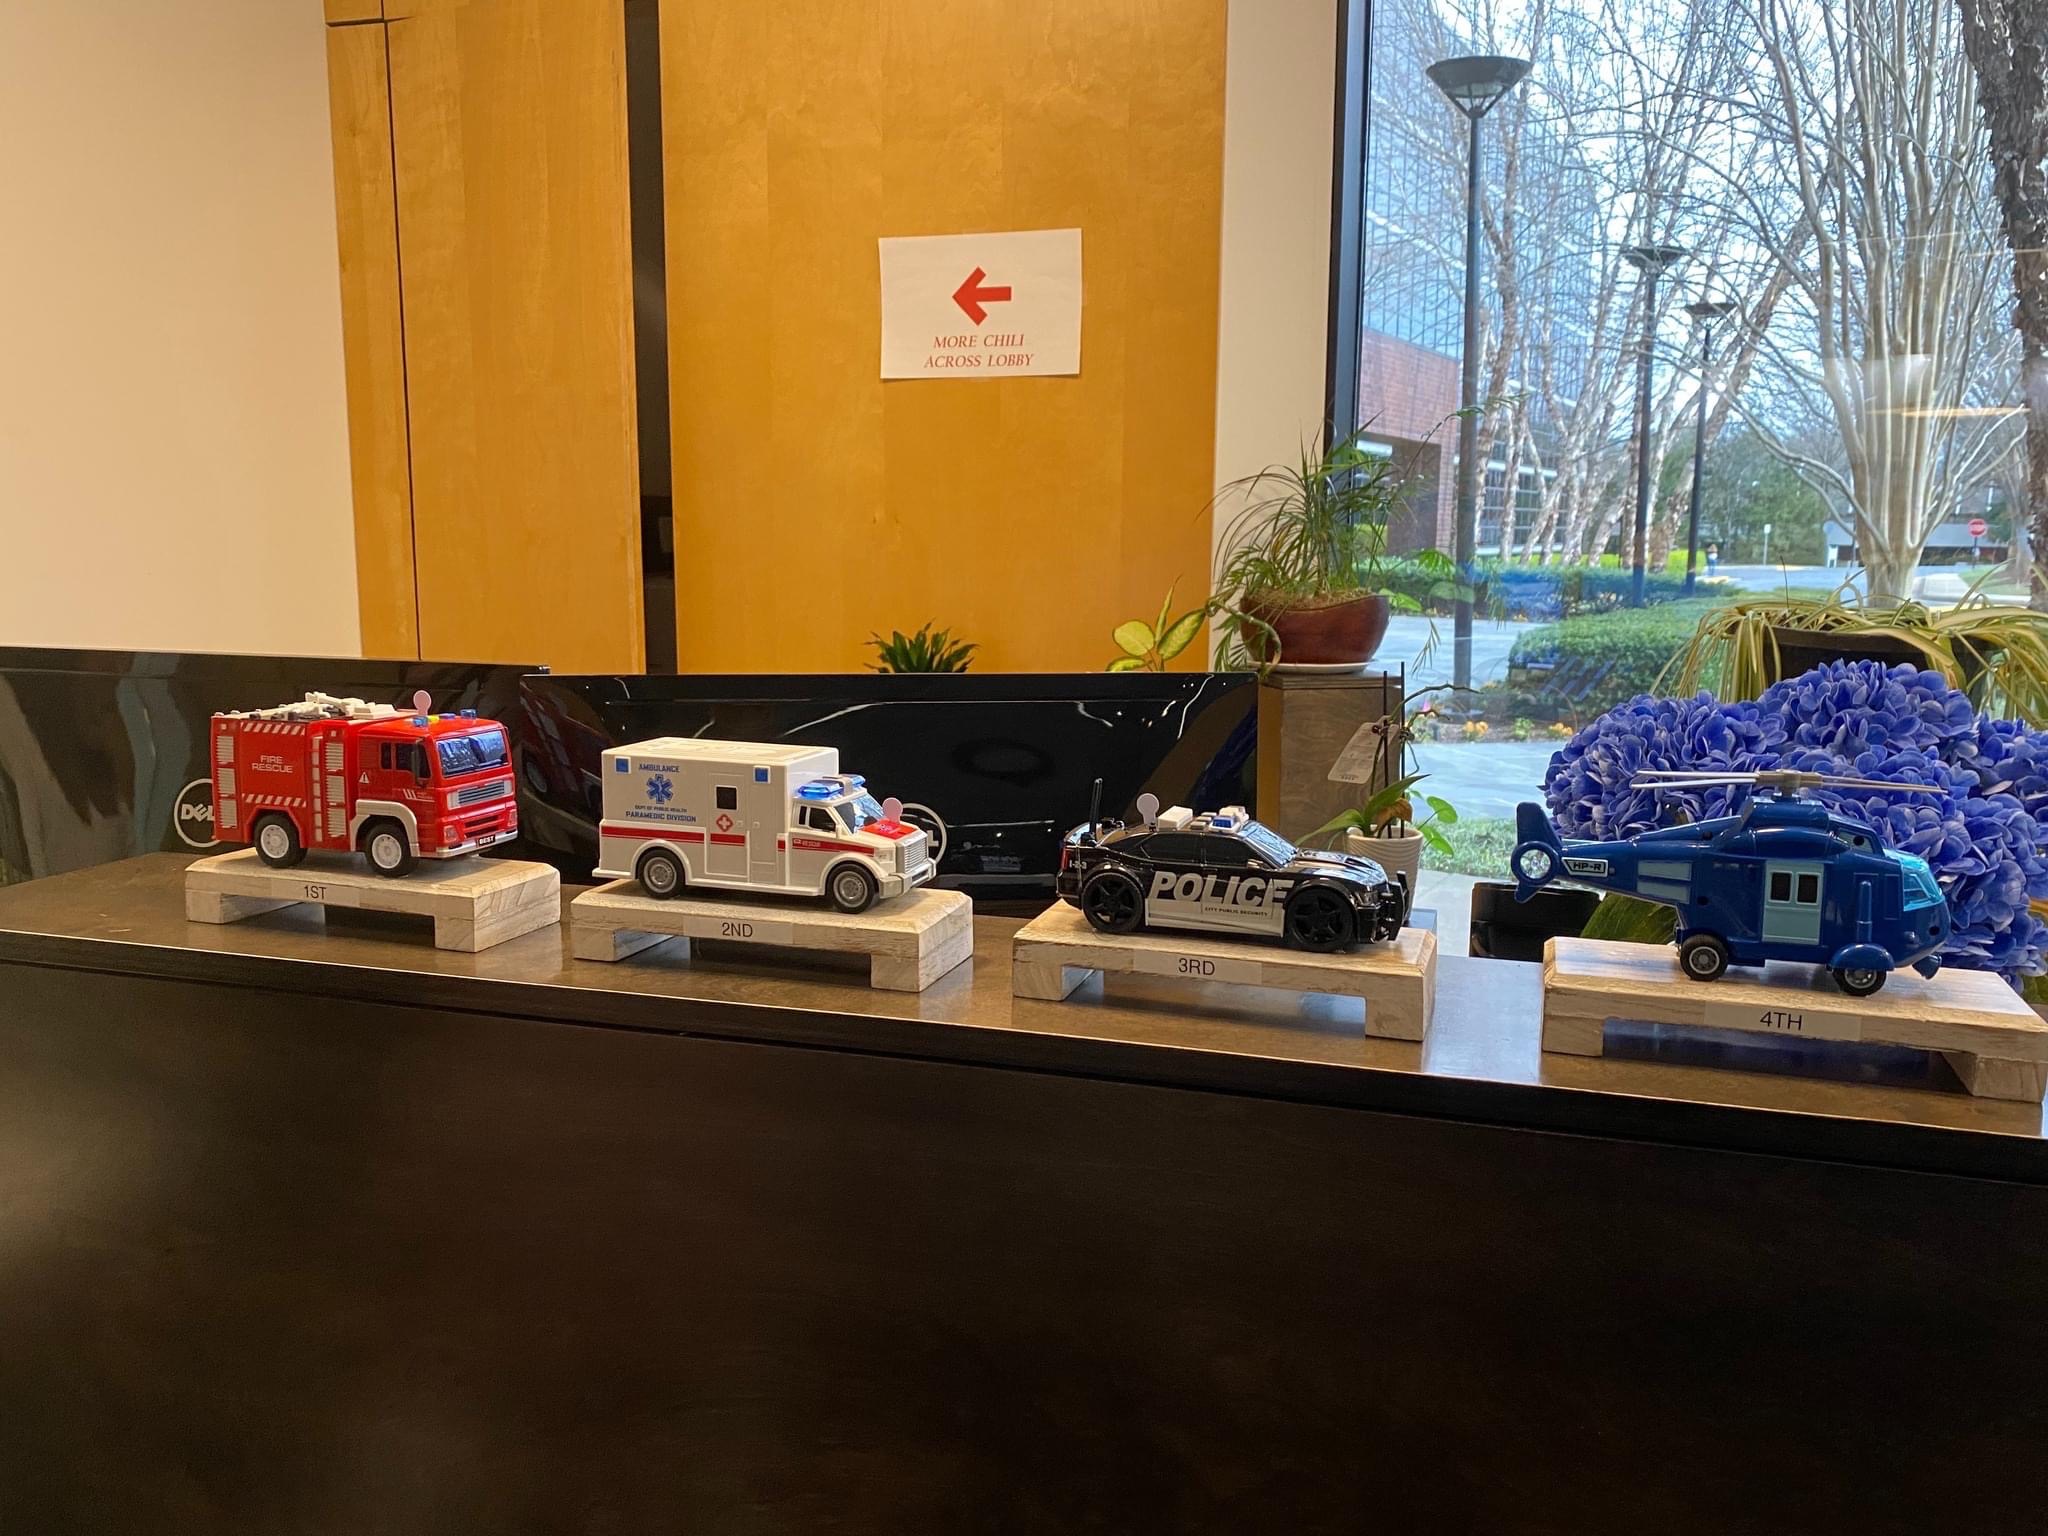
displayed. I thought it appropriate that they be emergency vehicles. I loved that the soap dishes I got on Amazon worked great as bases. The winners also go huge cash prizes.

This large dalmation, fire hydrant, and flower cart added to the ambience.

Here are three of props that went into the two main centerpieces. We had so many
entrants this year, that we had to use both conference rooms.

We have lots of monitors. I made different emergency scenes for each one. Watch for
the kitchen ones over the dessert bar. It is a parade of fire trucks.

Every year, I make hot dogs in my crockpot and my own chili. This has been a very
popular thing to do.


Meanwhile, back in the kitchen, there were fireman testing skills games. Nerfball shoot, dog ring toss, and axe ring toss. Notice how big the dalmation's tossing rings are in the basket on the left.


I always bake a few homemade goodies and pre-package them. I used to bake everything,
but then I got older and wiser. These are loaded brownies.
Finally, if you noted the black vinyl tableclothes, I MADE those. It was an awful lot of work, and I broke my sewing machine pushing that much flannel backed vinyl through it. It was old, like me, so no sweat. But now they can be used again and again. It looked so much nicer
than layering on inexpensive tableclothes.
Last note: We had more WHITE CHILIS and meatless than ever before. We ended awarding
each entrant in that category with $50, as the votes were so close, and they were all so delicious.


